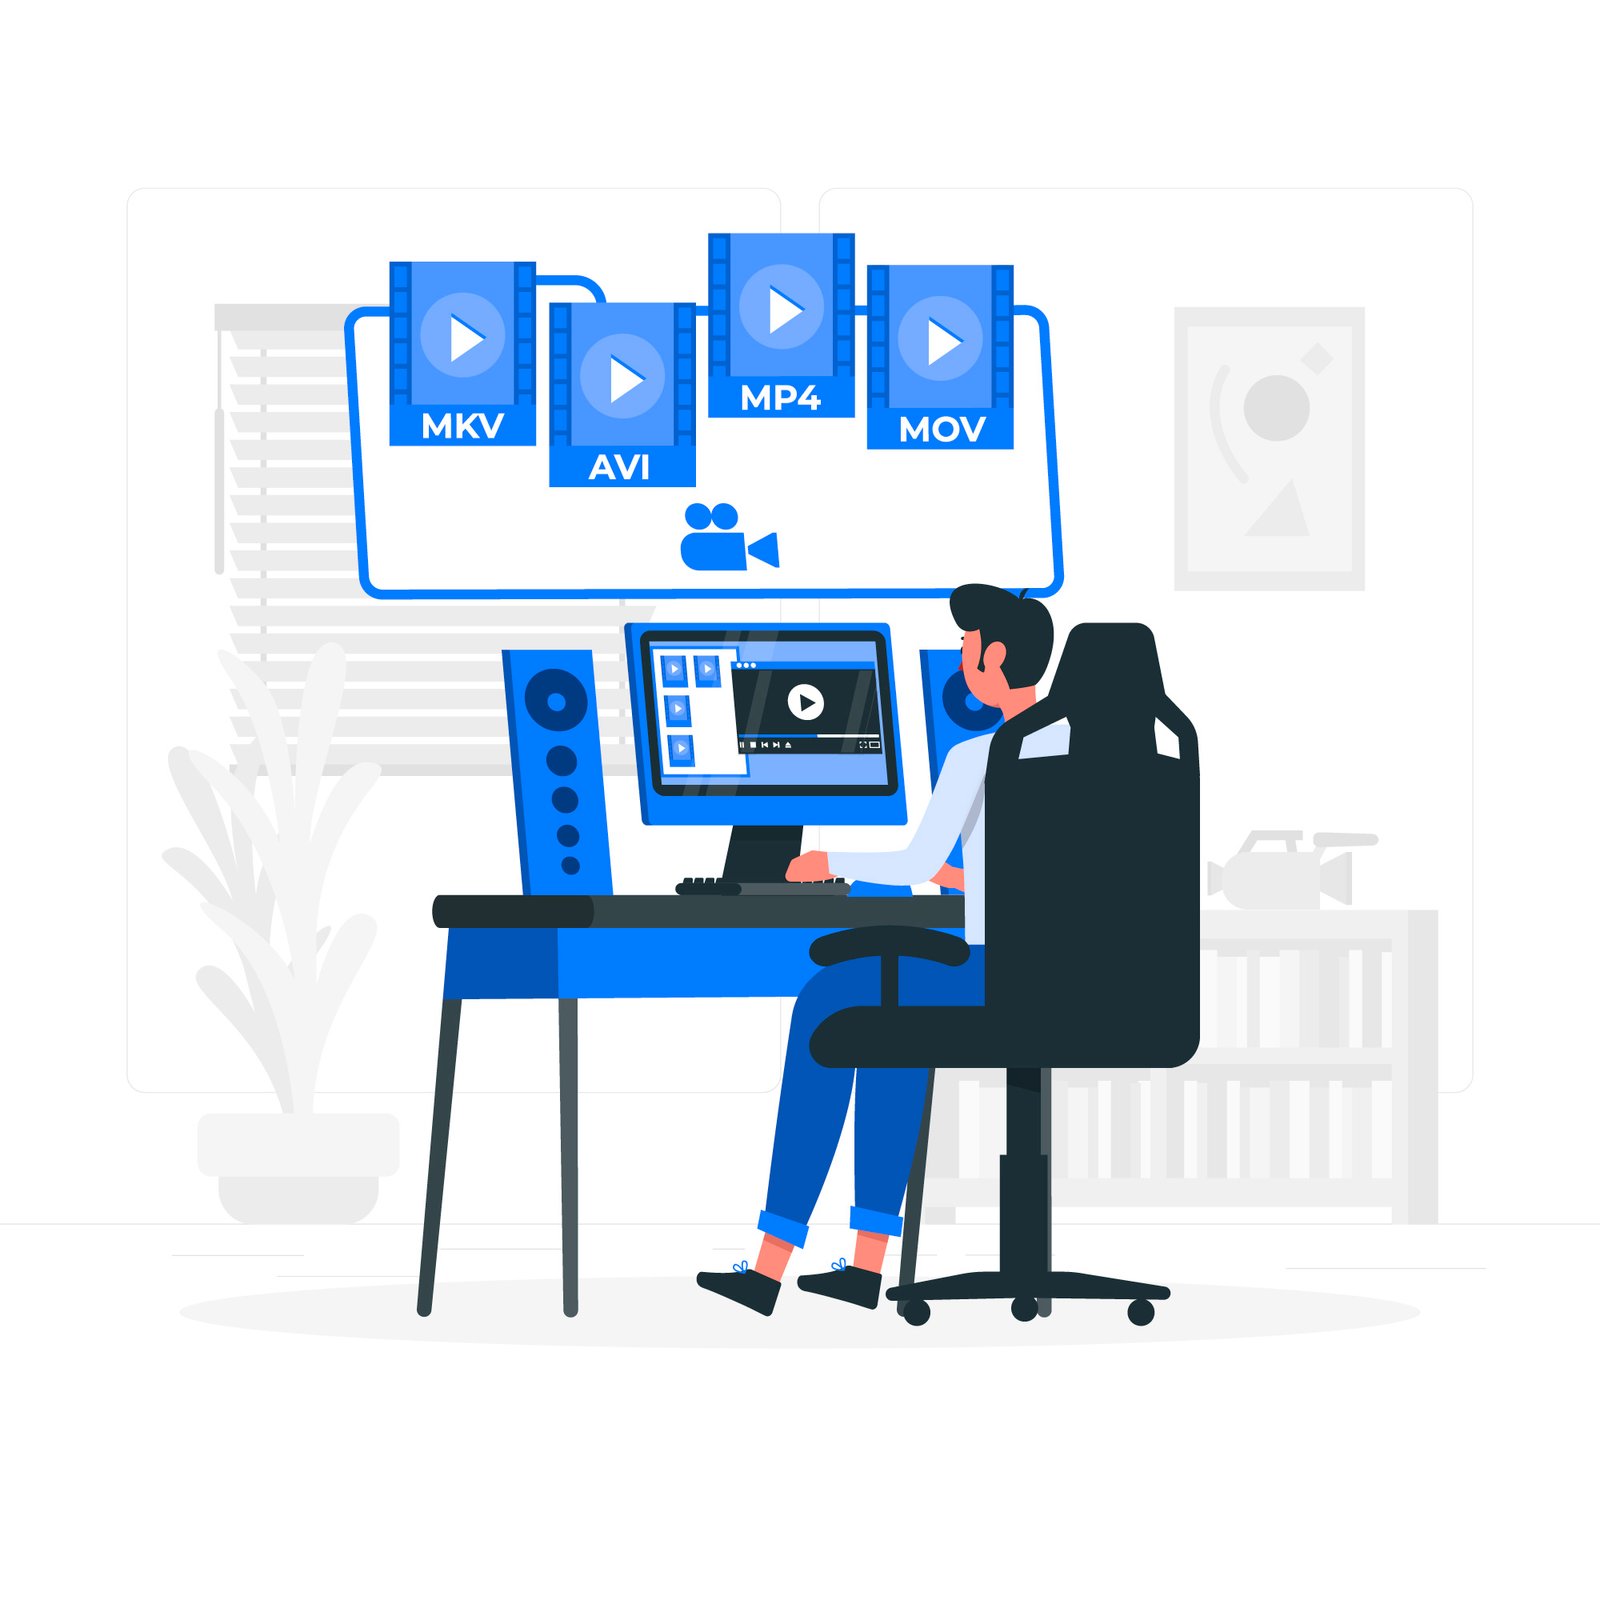
From jump cuts to J-cuts, learn the video editing techniques that top Indian YouTubers use
Do you want to go from being a casual YouTube viewer to a creator with an ever-growing subscriber base? Well, you’re not alone.
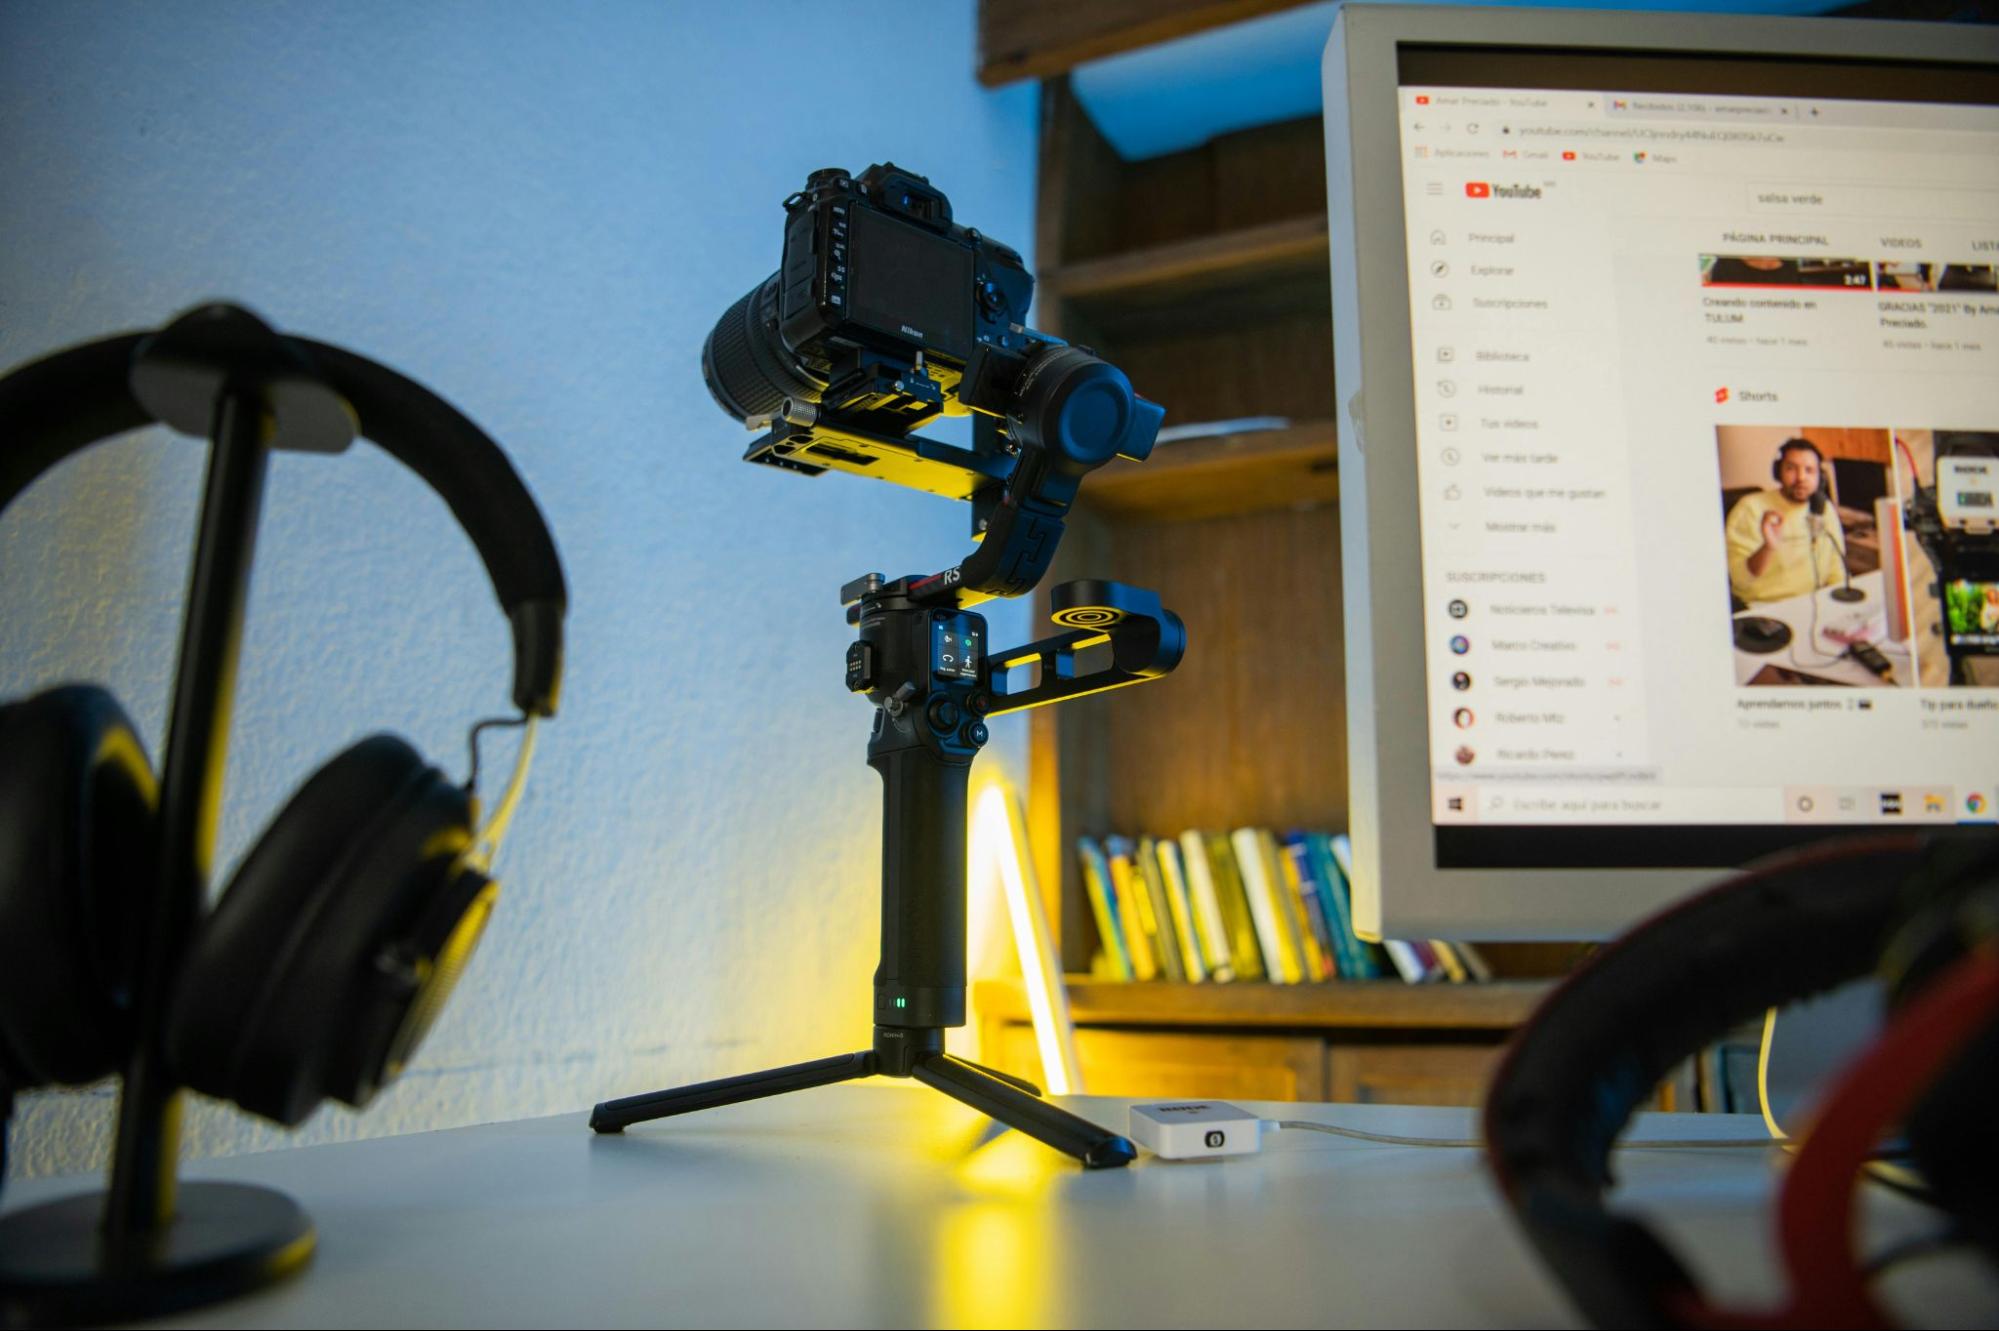
From Kashmir to Kanyakumari, aspiring YouTubers across India are picking up their cameras and diving into the world of content creation. But hold up—creating videos isn’t just about what you film; it’s about how you edit. The magic happens in post-production. Let’s dive into the must-know video editing techniques to give your YouTube channel that chef’s kiss quality.
Start Strong: Hook Your Audience in the First 5 Seconds
Think of your YouTube video as a Bollywood blockbuster. You know how Shah Rukh Khan doesn’t just stroll onto the screen but makes an entrance? Your video needs that, too! The first few seconds should grab attention faster than a trending meme goes viral.
Tips for a Killer Intro:
- Teasers and Highlights: Start with a quick montage of the most exciting clips from your video to entice viewers.
- Sound Effects and Music: Use upbeat music or sound effects to set the tone. This works wonders for keeping the viewer’s interest.
- Text Overlays: Use catchy text, like “Wait for what happens next!” to build suspense. Of course, make it quick and not like those part 2s everyone hates.
Best video editing for YouTube tip: Use an app like Adobe Premiere Pro or Final Cut Pro to add slick effects and transitions in the opening moments.
Jump Cuts: Because People Don’t Have Patience
In a world where attention spans are shorter than a TikTok video, jump cuts are your best friend. This technique helps cut out the unnecessary fluff, making your video tight and engaging.
How to Use Jump Cuts for YouTube Video Editing:
- Trim Out Dead Air: Remove pauses, stumbles, and “uhs” and “ums” to make your video more fluid.
- Highlight Key Points: Jump straight from one interesting part to the next to maintain a quick pace.
- Create Humor: Use abrupt jumps for comedic timing. Imagine telling a joke and cutting straight to your friend’s blank expression—people seem to love that.
Best video editing for YouTube tip: Simple editing apps like iMovie can handle basic jump cuts, but for more control, try a professional YouTube video editing app like Final Cut Pro.
Colour Grading: Make Your Video Pop
Ever notice how your favourite travel vlog looks like it’s been sprinkled with stardust that makes you want to book a ticket right away? That’s colour grading at work. While it might sound fancy, even a touch of colour correction can make your YouTube video editing look like a million bucks.
Basic Color Grading Tips:
- Adjust Saturation and Contrast: A little boost in saturation can make those Goa beach sunsets come alive.
- Create a Consistent Look: If you’re doing a series, keep the colour scheme consistent so that your videos have a cohesive look.
- Add Vibe Filters: Whether you want a warm, cosy feel or a cool, dramatic one, colour grading helps you set the mood.
Best video editing YouTube apps for colour grading: DaVinci Resolve is the go-to app for serious editors, while mobile apps like InShot offer simple colour-correction tools.
Transitions: Less Is More
Transitions can make or break your video. While star wipes and spinning effects might make you nostalgic for 90s PowerPoint presentations, they’re not what you want here. Subtle transitions keep the flow smooth and professional.
Top Transition Techniques:
- Cut on Action: If you are switching scenes while walking or moving, cut right when the action begins to create a seamless flow.
- Cross Dissolves: For a softer, more cinematic feel, use cross dissolves when transitioning between topics or scenes.
- Speed Ramps: Want to show time speeding up? Speed ramps are great for transitioning from a time-lapse to real-time footage.
Fun fact: Some of the best Youtube video editing apps, like Adobe Premiere Pro, come with built-in transition packs to make your editing life easier.
Text and Graphics: Keep It Snappy
Text isn’t just for subtitles (though adding subtitles can be a game-changer for accessibility). Use text to highlight key points, add a punchline, or emphasise crucial information. This is especially popular in educational videos and vlogs.
Quick YouTube Editing Tips for Text Overlays:
- Keep it Short: Viewers shouldn’t have to pause the video to read your text.
- Animate Your Text: A little motion can go a long way in drawing attention. Apps like After Effects are great for advanced animations, but beginner-friendly video editing apps like KineMaster also have some fun presets.
- Choose Readable Fonts: Comic Sans is a no-no. Stick to clean, easy-to-read fonts like Montserrat or Roboto.
Best video editing for YouTube tip: Don’t overdo it. People do not want to be distracted while watching the video.
Audio: The Forgotten One
While the focus remains on the shots, many new creators face echoey audio or jarring background music. It’s painful, like biting into a gulab jamun and finding it’s hard inside. Crisp, clear audio is non-negotiable. Especially when people are so into ASMR.
Pro Audio Editing Techniques:
- Noise Reduction: Use YouTube video editing tools like Adobe Audition or Audacity to remove background noise and hiss.
- Layering Audio: Adding layers of sound effects can enhance the viewing experience. Want to make your cooking vlog pop? Add the sizzle of onions hitting the pan!
- Background Music Balance: Make sure your background music doesn’t overpower your voiceover or dialogue. Adjust the levels so that they complement, not compete.
YouTube video editing app pro tip: Even apps like Filmora have built-in noise reduction features if you’re editing on a budget.
Zooms and Pans: Keep the Eyes Moving
Static shots can get dull fast, like a stale joke at a family gathering. Introducing digital zooms and pans can add energy to your video, even if you’re filming something as simple as a sit-down chat.
When and How to Use Zooms and Pans:
- Emphasise a Point: Zoom in when you’re making an important statement to add a punch.
- Add Movement to Stills: If you’re using images or screenshots, adding a subtle pan or zoom keeps the screen lively.
- Create Drama: For reaction shots, a sudden zoom is the standard, or you can even build suspense.
YouTube Video Editing tip: Apps like Premiere Pro allow you to keyframe these effects, while mobile-friendly options like VN Video Editor have pre-set motions you can tap into.
Add Memes and GIFs: Spice Up Your Content
Memes are to YouTube videos what tadka is to dal—absolutely essential for that extra flavour. Whether you’re reacting to a funny moment or making a point, GIFs and memes can add humour and relatability. Some people have an instant GIF pop in their heads when they see something. If you do it right, they will feel like you get them right.
Best Practices for Meme Inserts:
- Use Sparingly: Don’t overdo it; your audience shouldn’t feel like they’re scrolling through their mom’s WhatsApp group chat.
- Keep It Relevant: Make sure the memes or GIFs align with your content’s tone and message.
- Edit for Flow: Integrate memes smoothly with cutaways or transitions, so it feels part of the video, not just thrown in.
Youtube video editing tip for GIFS: Go with the popular ones or ones that have the potential to be popular, depending on the category your content is. Pop culture GIFs are making raves these days.
Thumbnail & Title Design: The Final Touches
Your video may be top-notch, but without a catchy title and an even catchier thumbnail, viewers might not even click! Think of these as the storefront to your video; they need to make people curious. No wonder clickbaiting is so common.
- Title Crafting: Keep it clear and intriguing. “5 Editing Tricks for YouTube Success” will draw in more viewers than “Editing Tips.”
- Thumbnail Design: Use colours and expressions that pop, and add text if it emphasises the main point. Apps like Canva make creating thumbnails super easy!
Youtube video editing tip: Look at the titles and thumbnails of successful Indian YouTubers in your niche. Try to identify patterns, but don’t just copy—add your own twist!
Consistency is Key: Build a Routine
Rome wasn’t built in a day, and neither is a successful YouTube channel! Keep a consistent posting schedule to build your audience.
Keep In Mind:
- Editing Workflow: Set up a workflow to streamline the editing process. Batch filming, for example, can give you a week’s worth of content in one go.
Choose the Right YouTube Video Editing Apps
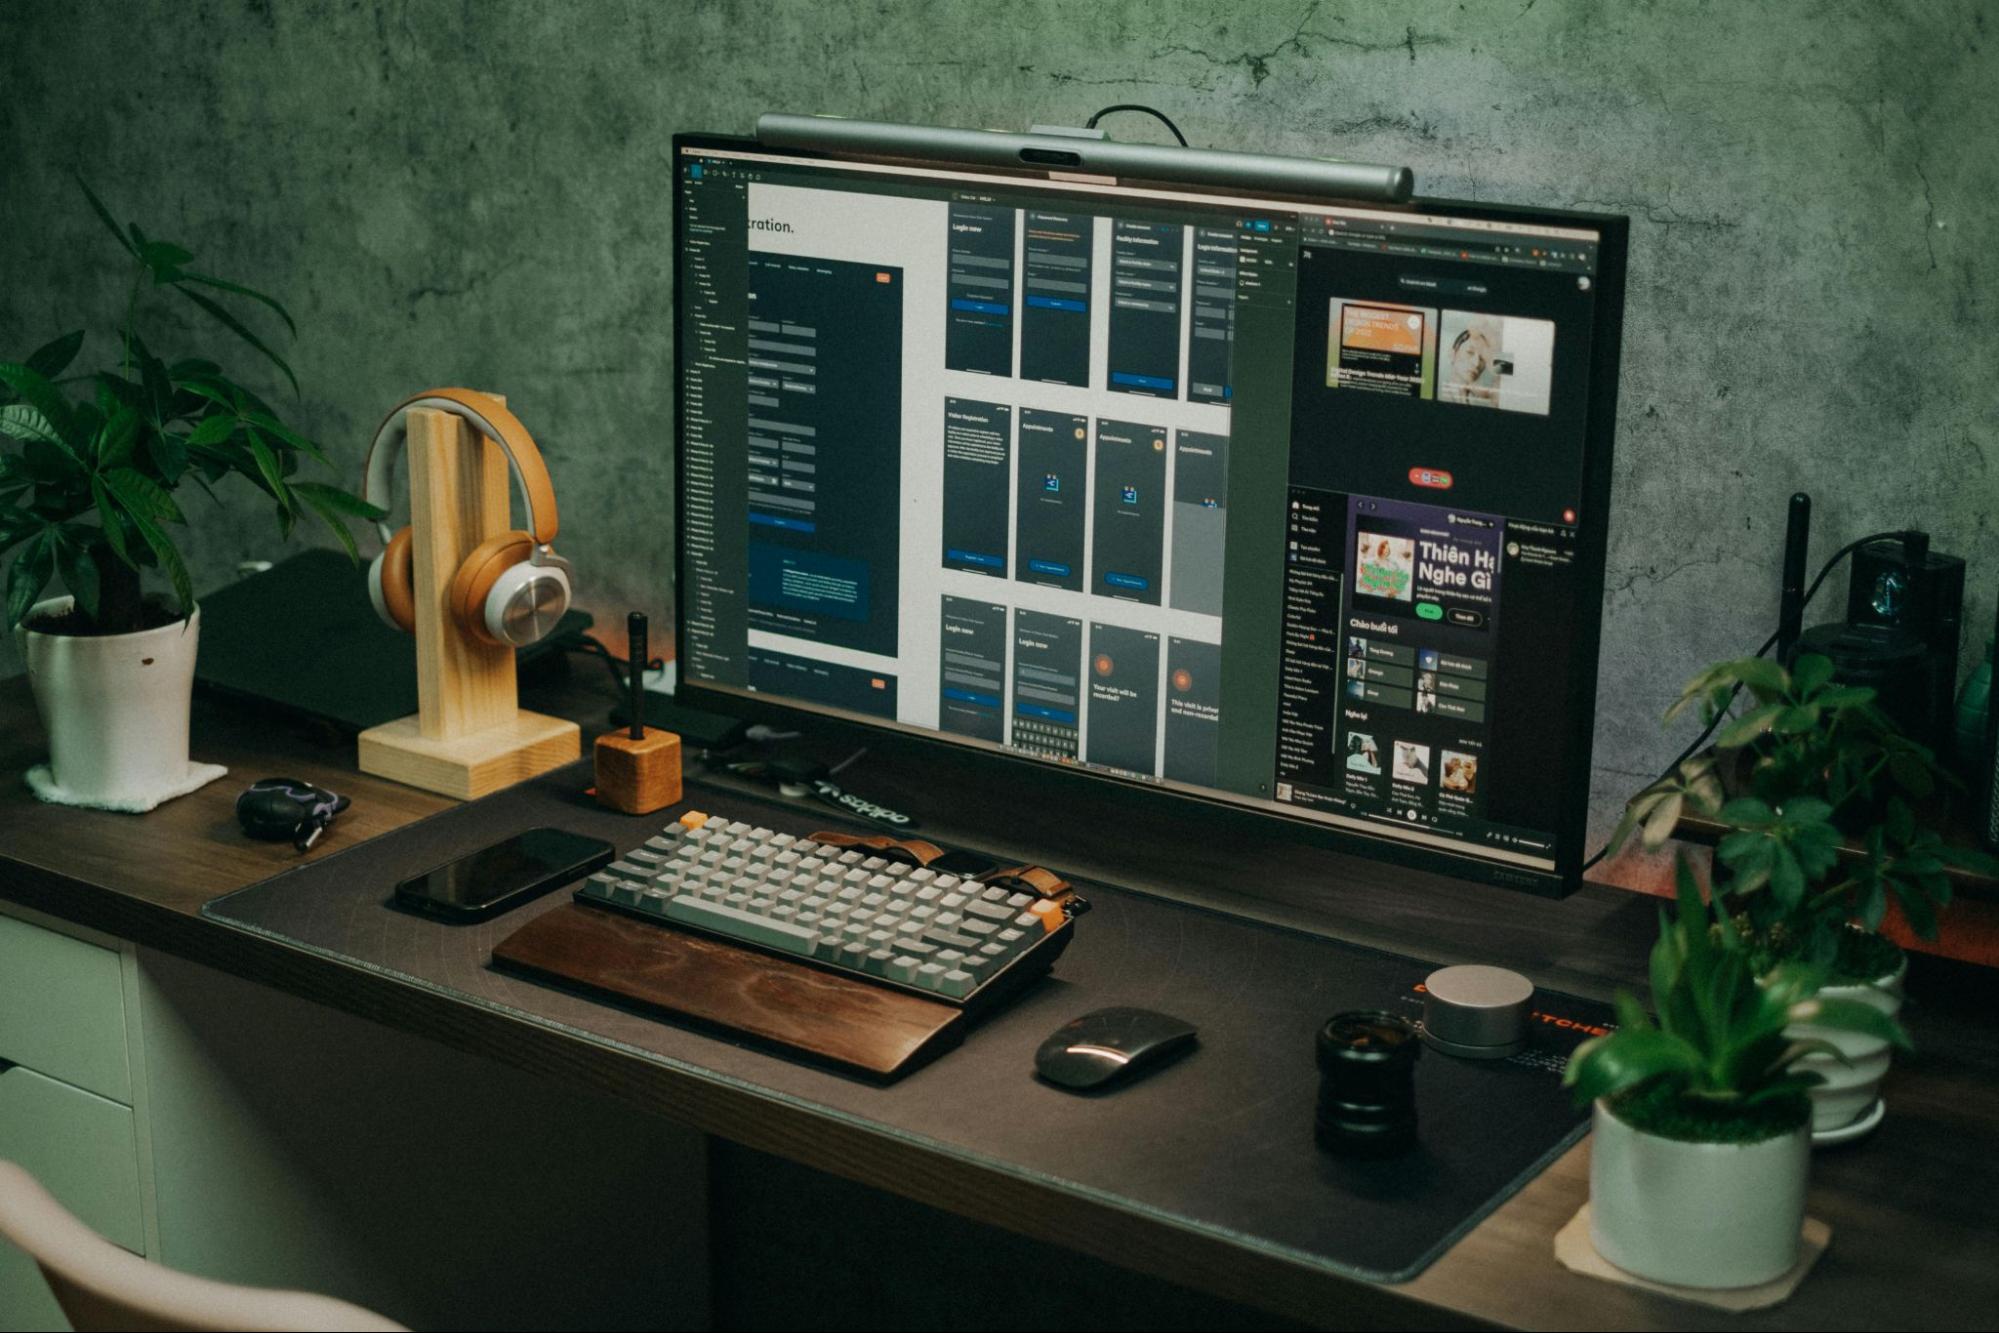
Now, let’s talk about YouTube video editing tools. Having the right video editing app can make all the difference. Here’s a list of popular video editing apps that Indian YouTubers love:
- Filmora: Perfect for beginners who want intuitive, drag-and-drop functionality with a variety of effects.
- Adobe Premiere Pro: A professional-level app for serious YouTubers offering advanced colour grading and audio balancing.
- CapCut: Free, mobile-friendly, and packed with popular filters and effects.
- DaVinci Resolve: Known for high-quality colour grading, making it ideal for film-style YouTube content.
Want to know more video editing apps Indian YouTubers are loving right now? Check out our blog!
SEO takes time, but advertising? It’s like skipping the line at the club because you paid the bouncer. You throw some money at ads and boom, you’ve got eyeballs on your site. Simple, right?
Here are the greatest hits of online advertising:
- Affiliate Marketing: Recruit people to hype your stuff and pay them when they bring you customers. Think of it as a digital pyramid scheme without the lawsuits.
- Banner Ads: Those obnoxious banners that scream, “CLICK ME!” Most people don’t, but hey, some do.
- Pay-Per-Click (PPC): You pay every time someone clicks your ad. Warning: This can feel like feeding a very hungry slot machine.
- Social Media Ads: Perfect for targeting niche groups—like dog moms who love yoga or anyone who’s ever Googled “best avocado toast recipes.”
And let’s not forget pop-ups, floating ads, and other gimmicks we all secretly hate but can’t escape.
And there you have it!
With these editing techniques, you’re ready to turn your YouTube videos into show-stopping hits that’ll have viewers smashing that like button and subscribing for more. Remember, great content is made in the editing room, so don’t skimp on perfecting those final touches. Now, go ahead and create something amazing—India’s next YouTube sensation might just be you!